A vapor barrier under a concrete slab reduces moisture vapor movement from the ground into the slab and the building above. It helps protect moisture-sensitive flooring, coatings, adhesives, and interior conditions, but it must be selected and installed according to project requirements and local code.
Key takeaway: The barrier is only one part of moisture control. Subgrade preparation, seams, penetrations, concrete mix, curing, drainage, flooring requirements, and testing all affect the final result.
What the barrier is meant to control
Concrete can contain and transmit moisture. A below-slab vapor barrier, often called a vapor retarder in technical language, is placed between the ground and the slab system to limit water vapor moving upward. It is not the same as waterproofing against bulk water pressure. If a site has groundwater, hydrostatic pressure, or drainage problems, the design needs broader moisture management.
The International Residential Code and local amendments may address vapor retarders for certain slab conditions, but requirements vary by jurisdiction and project type. Teams should verify the adopted code and project specifications rather than assuming one universal rule.
This topic also connects to commercial leasing and interiors because flooring failures can become expensive disputes. During build-out planning, review moisture risks alongside tenant improvement allowance scope when flooring or slab work is part of the deal.
Where it sits in the slab assembly
A common arrangement places the vapor barrier directly below the concrete slab, over a prepared base, with seams lapped and sealed according to the product and specification. Some projects use a blotter layer or other assembly choices, but those decisions should be made by the design professional based on flooring needs, slab behavior, and construction conditions.
ASTM standards often appear in project specifications for vapor retarders and moisture testing, but the exact standard and acceptance criteria should come from the contract documents. The important field point is continuity. Tears, unsealed laps, poorly sealed penetrations, and damage during reinforcement placement can reduce performance.
Why flooring and adhesives change the stakes
Moisture-sensitive floor coverings and adhesives can be affected by vapor emission or high relative humidity within the slab. A vapor barrier can reduce one source of moisture, but it does not remove construction moisture from freshly placed concrete. Flooring manufacturers may require testing before installation.
The EPA building air quality guide is broader than slab moisture, but it reinforces a useful principle for building owners: moisture control and indoor environmental quality are connected parts of building performance. EPA Building Air Quality Guide
For maintenance teams, the warning signs may include adhesive failure, musty odors, visible dampness, coating problems, or recurring flooring complaints. These symptoms need investigation rather than quick surface repairs.
Installation details that matter in the field
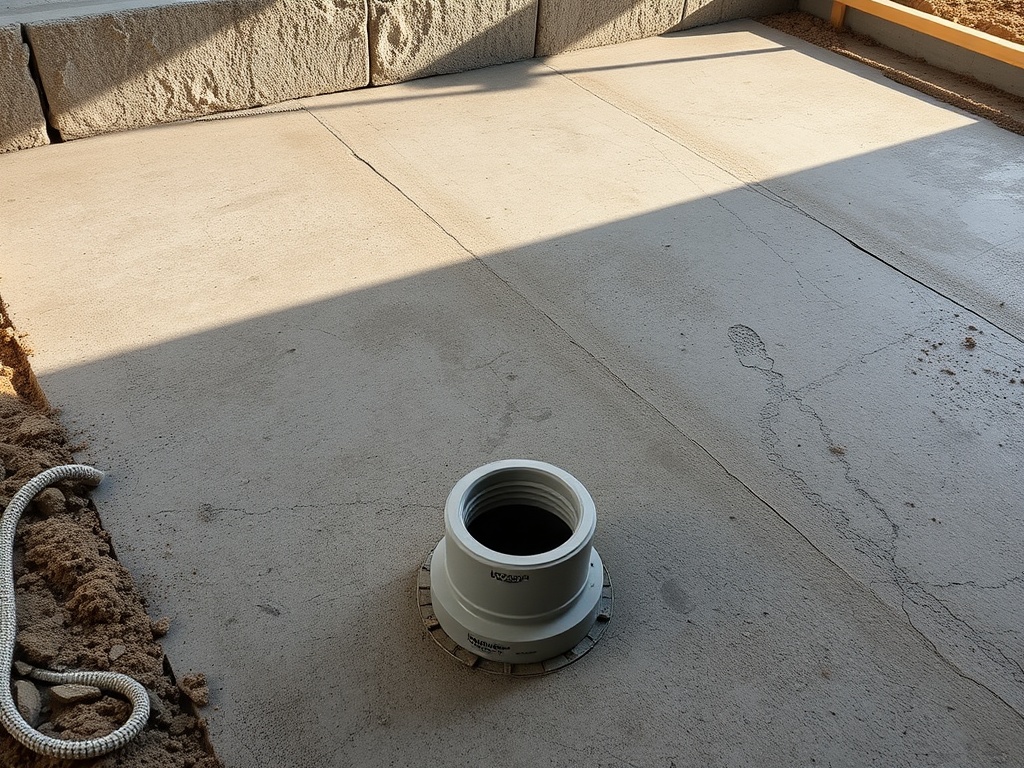
Field execution determines whether the barrier performs as intended. The subgrade should be prepared so sharp objects do not puncture the sheet. Seams should be lapped and taped. Penetrations should be sealed. Workers should avoid dragging reinforcement, chairs, tools, or equipment across the membrane. Damaged areas should be repaired before the pour.
Do not rely on thin commodity plastic unless the specification allows it. Vapor retarder products differ in thickness, puncture resistance, permeance, and installation requirements. The design team should select the product based on the expected conditions and finish requirements.
A comparison of common moisture-control concepts
| Concept | Purpose | Common caution |
|---|---|---|
| Vapor retarder | Limits moisture vapor movement | Not a fix for bulk water pressure |
| Waterproofing | Resists liquid water intrusion | Requires separate design for site conditions |
| Moisture testing | Checks slab condition before finishes | Must follow project and manufacturer requirements |
| Drainage | Moves water away from the slab system | Needs site-specific design |
A slab vapor barrier review checklist
- Confirm the adopted code, project specification, and flooring manufacturer requirements.
- Check whether the issue is vapor drive, bulk water, drainage, or construction moisture.
- Verify product type, seam treatment, lap requirements, and penetration sealing.
- Protect the barrier during reinforcement placement and concrete work.
- Document repairs before the slab is placed.
- Plan flooring moisture testing before finish installation.
Coordination points before slab placement
Vapor barrier coordination should happen before the pour date is close. Plumbing sleeves, underslab utilities, reinforcing steel, insulation, edge details, and construction joints can all affect continuity. If those details are not coordinated, the field team may have to cut, patch, or work around conflicts under pressure.
The superintendent should confirm who is responsible for placing the membrane, taping seams, sealing penetrations, protecting it during reinforcement, and inspecting it before concrete placement. Responsibility should be clear because damage can occur after the sheet is installed but before the slab is poured.
Weather and site housekeeping also matter. Mud, standing water, sharp debris, and heavy traffic can damage the prepared surface. The barrier should not be treated as ordinary temporary plastic. It is part of the finished building assembly even though it disappears under concrete.
When finished flooring is planned, coordinate with the flooring manufacturer or design professional before changing the slab assembly. Adhesive requirements, moisture testing, curing compounds, and surface preparation can affect finish performance. A field substitution that seems minor may create later warranty or installation problems.
The maintenance lesson after occupancy
When the pour is near, confirm that everyone understands the repair standard. Small punctures, torn laps, and unsealed sleeves should not be left for the concrete crew to work around casually. The inspection should happen while the membrane is still visible and before access becomes difficult.
Field crews should photograph the membrane before it is covered, especially at seams, penetrations, and repaired areas. Those records can help owners, flooring contractors, and maintenance teams understand what was installed if a moisture question appears later. The photos should be stored with the closeout documents, not only on a supervisor phone.
If moisture symptoms appear after occupancy, avoid assuming the barrier failed. Investigate drainage, plumbing leaks, condensation, slab moisture, flooring selection, adhesive compatibility, and indoor humidity. Moisture problems usually need diagnosis across the whole assembly, not a single quick repair.
Plan moisture control before the pour
A vapor barrier is most effective when it is planned into the slab assembly before concrete work begins. Review the design, coordinate trades, protect the membrane in the field, and test the slab before installing moisture-sensitive finishes.
This article is for informational and educational purposes only. It is not professional engineering, legal, code-compliance, financial, safety, or project management advice. Requirements vary by project, site condition, contract, and jurisdiction; consult qualified professionals and the authority having jurisdiction before making construction or maintenance decisions.
•
•