
Resistance bands are a beginner-friendly way to start strength training because they are portable, inexpensive, and easy to scale across many movements. Begin with a small set of exercises you can control through a comfortable range, choose resistance that allows smooth repetitions, and progress by adding repetitions, range, tension, or a harder band one step at a time.
TL;DR Start with five movement patterns: squat or sit-to-stand, row, press, hinge, and a simple carry or anti-rotation exercise. Train two or three nonconsecutive days per week, stop sets before form breaks down, inspect bands for damage, and anchor them securely. If you have significant joint pain, balance problems, or a medical condition that limits exercise, get individualized guidance.
Why bands can be a strong first strength tool
Elastic resistance changes tension as the band stretches, which feels different from a dumbbell or machine but still provides a meaningful resistance-training stimulus. HHS includes elastic bands and tubes as examples of muscle-strengthening activity in its current Move Your Way activity planner, alongside weights and bodyweight exercises.
Research in older adults also suggests elastic resistance can improve strength and functional outcomes compared with no structured training. A systematic review and meta-analysis found favorable effects on several functional tests in older adults using elastic resistance training. The review of elastic resistance and function supports bands as a legitimate training option, while also reminding us that program design and individual ability matter.
Bands are not automatically safer than weights. A band can snap, an anchor can fail, and excessive tension can pull you out of position. The advantage is convenience and adjustability, not immunity from poor technique.
Choose the band type that matches the exercise
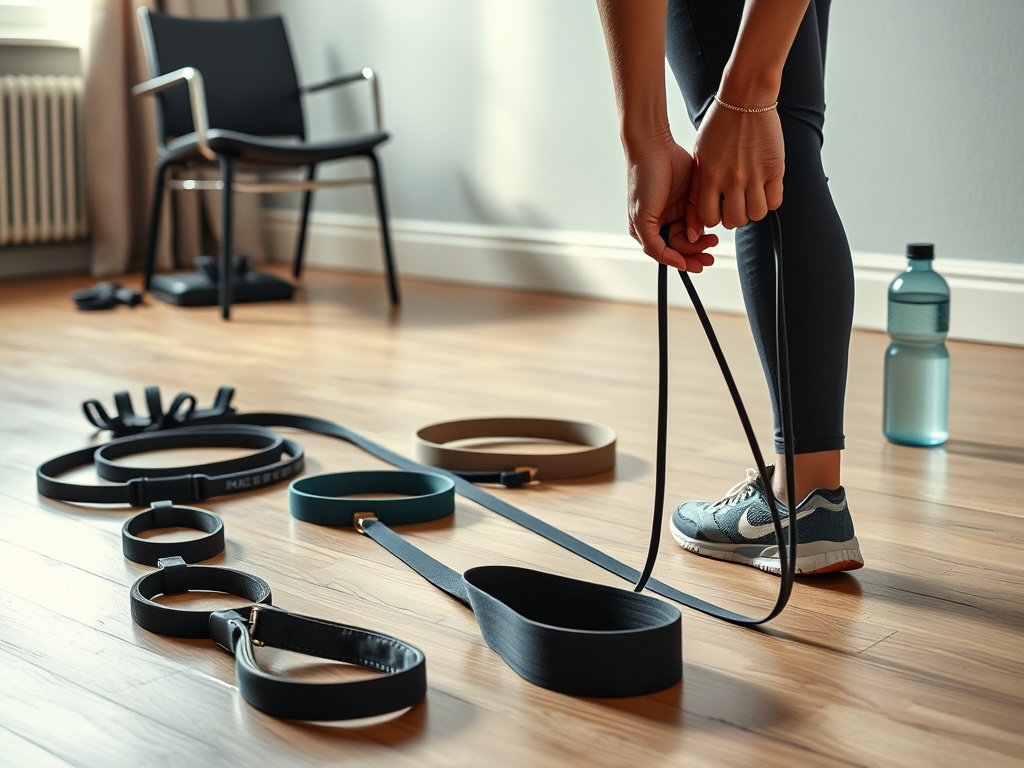
Loop bands
Small loop bands are useful for lateral steps, glute work, and some upper-body drills. Larger power loops can assist pull-ups, add resistance to squats, or provide rows and presses when anchored.
Tube bands with handles
These can feel more familiar for rows, presses, curls, and other exercises. Door anchors can expand the options, but only if the door and anchor are designed and positioned securely.
Your first five movement patterns
1. Sit-to-stand or band squat
Start with bodyweight if needed. Place a loop above the knees for light external resistance or hold a longer band in a way that adds load without pulling you off balance. Sit back under control, keep the feet planted, and stand without bouncing.
2. Band row
Anchor the band in front of you at roughly chest height. Step back until there is light tension, then pull the handles or band toward the ribs while keeping the shoulders away from the ears. Keep the setup simple enough that you can repeat it consistently from session to session.
3. Standing or seated press
Anchor the band behind you and press forward, or use a floor-based variation if standing balance is a concern. Keep the trunk stable and avoid letting the band yank the arms backward at the end of a set.
4. Hip hinge
Stand on a long band and hold it near the thighs or shoulders. Push the hips back with a neutral, comfortable spine, then stand by driving the floor away. Use light tension until the movement feels natural.
5. Anti-rotation press
Anchor the band to the side, hold it near the chest, and press the hands forward without letting the torso rotate toward the anchor. This teaches trunk control without needing a complicated abdominal routine.
A beginner checklist for the first four weeks
Before each session
- Inspect the band for cuts, thinning, cracks, or damaged handles.
- Confirm the anchor cannot slide, open, or detach.
- Clear enough space that a released band would not hit another person.
- Choose shoes and a surface that feel stable.
- Start with a resistance you could clearly control for several more reps than you plan to do.
During the session
Perform one or two sets of each movement at first. Use a moderate repetition range that allows smooth technique rather than chasing fatigue. Rest long enough that the next set looks similar to the first. If you feel sharp joint pain, numbness, dizziness, or unusual symptoms, stop and reassess.
After the session
Write down the band used, anchor position, and approximate repetitions. Because bands often do not have standardized resistance across brands or stretch lengths, your own setup notes are more useful than comparing color labels with someone else’s band.
How to progress without jumping too fast
Progress one variable at a time. First add repetitions within a comfortable range. Then increase the range of motion if it is currently limited. Next, move farther from the anchor or shorten the band slightly to increase tension. Only then move to a meaningfully harder band if needed.
A common mistake is switching to a much stronger band and losing control at the start or end of the movement. The goal is not to use the darkest color; it is to create enough resistance that the final repetitions are challenging while technique remains stable.
You can also progress by making the exercise more demanding mechanically. A sit-to-stand can become a deeper squat. A two-arm row can become a split-stance row. A press can move from seated to standing. These changes increase coordination demands, so add them only when they improve the training goal rather than simply making the movement look harder.
Safety mistakes beginners can avoid
Do not wrap a band around a sharp metal edge or a surface that can cut it. Do not use a door anchor on a door that can swing toward you or that is not securely latched according to the anchor instructions. Avoid pulling a damaged band close to the face.
Keep tension controlled during the return phase. Letting the band snap the arms or legs back reduces control and can increase risk. Also avoid excessive band stretch; use the manufacturer’s guidance because materials differ.
If balance is limited, use seated or supported variations first. Strength gains are useful only if the setup itself is safe. Older adults or people returning after a health event may benefit from a physical therapist, qualified exercise professional, or supervised program to select appropriate movements.
Where bands fit in the weekly plan
Two full-body sessions are a realistic starting point. On other days, walking or other easy cardio can build general activity. If you are deciding whether bands belong in home workouts, classes, or a mixed routine, group versus solo training can help you choose the setup you are most likely to repeat.
Recovery still matters. Keep at least a day between early full-body band sessions, especially if you are sore. You do not need a complicated recovery device to make band training effective; sleep, food, and manageable training volume remain the priorities. Recovery foods for endurance and strength training offers a practical food-first framework when sessions become more demanding.
Make bands your low-friction strength habit
For the next month, repeat the same five movement patterns twice per week and record the setup. Add a few repetitions or a small amount of tension only when every rep looks controlled. The routine should become easier to start because the decisions are already made.
Once the band sessions feel predictable, you can add another set, a new movement, or a heavier resistance level. The purpose of beginner programming is not to keep training easy forever; it is to create a safe, measurable path from “I am starting” to “I know how to make this harder.”