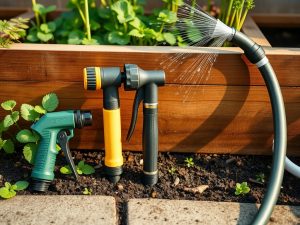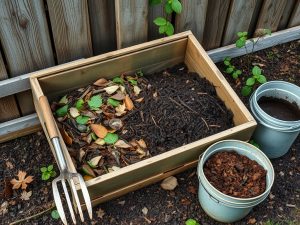
A small shed works best when floor space is reserved for bulky equipment, walls carry long-handled tools, shelves hold labeled categories, and hazardous products are separated from everyday gear. The goal is not to fit the maximum number of objects inside. It is to make common tools easy to reach without creating unstable stacks or hiding unsafe storage behind clutter.
Small-Shed Formula
- Empty and sort before buying organizers.
- Use vertical space for rakes, shovels, hoses, and lightweight equipment.
- Keep heavy items low and frequently used gear near the door.
- Lock pesticides and similar products in original labeled containers, away from food and ignition sources.
What You Need Before You Start
- Heavy-duty hooks or a wall-mounted tool rack appropriate for the shed wall material.
- Adjustable shelving or sturdy freestanding shelves rated for the expected load.
- Clear or opaque bins with simple category labels.
- A lockable cabinet or compliant secure storage area for pesticides and other restricted products.
- A broom, brush, rags, and supplies for cleaning tools before storage.
- Basic measuring tools, level, fasteners, and stud or framing identification where wall mounting is planned.
Do not assume every shed wall can safely support a heavily loaded rack. Thin panels, aging framing, moisture damage, or improvised construction may require reinforcement. If you are unsure what is behind the wall surface or how much weight it can carry, keep the system freestanding or have the structure evaluated before mounting heavy equipment.
Step 1: Empty the Shed and Create Four Piles
Move everything out so you can see the floor, walls, leaks, pests, and damaged items. Sort into keep, relocate, dispose, and repair/clean. Dispose of chemicals, batteries, fuel, paint, and pesticides through the correct local program rather than putting questionable containers into ordinary trash. Set aside anything with a missing label until you know how it should be handled.
This is also the moment to remove duplicate low-value tools. Two good hand trowels may be useful; six broken spray heads are not. A small shed becomes more efficient when the inventory reflects the work you actually do. If your yard plan is changing toward lower-maintenance planting, the guide to four-season landscape plants can help you avoid storing supplies for garden tasks you no longer need.
Step 2: Map the Shed by Frequency and Risk
Divide the interior into zones. Put everyday hand tools, gloves, ties, and watering accessories near the entrance. Place seasonal equipment higher or farther back. Give long-handled tools one wall. Reserve a dry shelf for clean pots and propagation supplies. Keep sharp tools where blades cannot protrude into the walkway. Store heavy items on lower shelves to reduce lifting strain and tipping risk.
Step 3: Get Long Tools Off the Floor
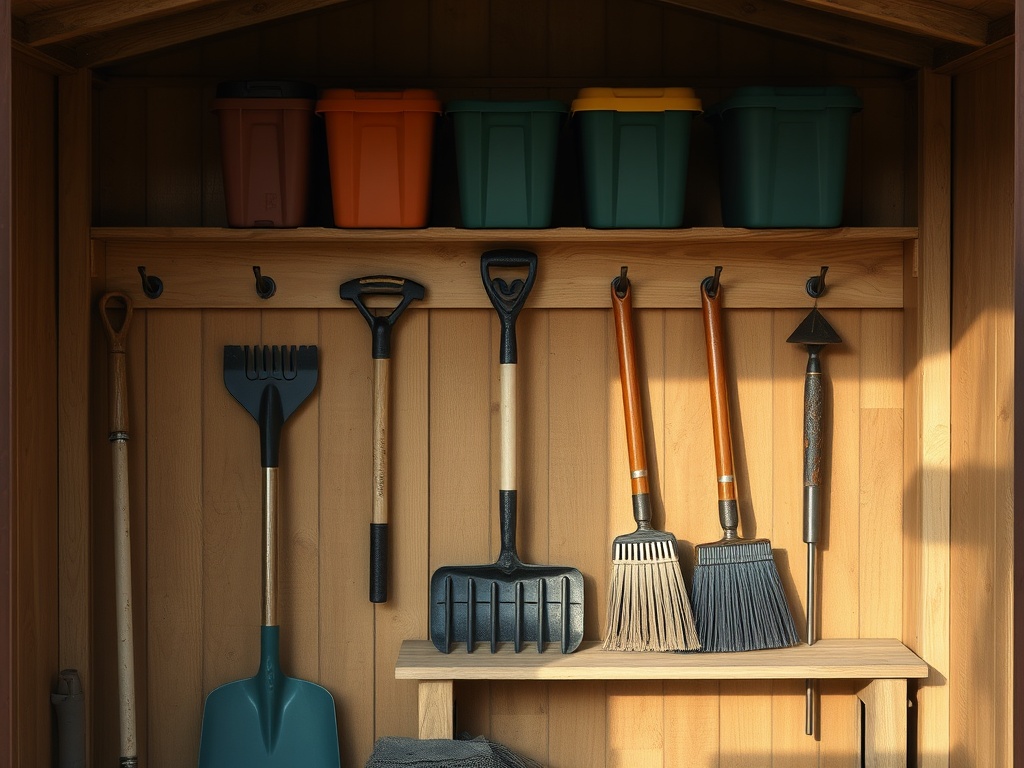
Rakes, hoes, shovels, and forks consume floor area when leaned into corners and tend to fall in groups. A wall rack with individual positions keeps handles visible and prevents a tangled pile. Mount hooks far enough apart that tool heads do not overlap excessively. Keep the heaviest long tools closer to waist height or lower, and avoid placing sharp edges at face level.
Step 4: Build Shelves Around Categories
Shelving works when every shelf has a purpose. Group irrigation fittings together, pruning supplies together, potting items together, and small repair hardware together. Use bins for loose pieces that otherwise migrate to the back. Avoid deep containers for tiny items; shallow bins make washers, connectors, twine, plant clips, and spare fasteners easier to see.
Leave some open shelf space. A storage system packed to one hundred percent on day one is difficult to maintain because every new seasonal item has nowhere to go. A small amount of breathing room also makes it easier to wipe shelves and inspect for pests or leaks.
Step 5: Separate Chemicals and Flammables
Safety takes priority over convenience. The EPA’s current pesticide-storage guidance recommends keeping pesticides in their original labeled containers, out of reach of children and pets, preferably in a locked cabinet in a well-ventilated utility area or garden shed. It also warns against storing pesticides near food, animal feed, or medical supplies and advises keeping flammable liquids away from ignition sources.
Follow each product label and local fire or hazardous-material rules. A garden shed that also houses gasoline-powered equipment, batteries, chargers, fertilizers, pesticides, pool chemicals, or paint may need more careful separation than a simple tool shed. Never transfer chemicals into beverage or food containers.
Step 6: Clean Tools Before They Go Back
Soil and plant debris can hold moisture and may carry plant pathogens. University of Minnesota Extension recommends cleaning gardening tools before winter storage and after working with diseased plants. Remove visible dirt, dry tools thoroughly, address rust, and maintain cutting edges according to the tool manufacturer’s instructions.
Do not mix cleaning chemicals casually. Some disinfectants can corrode metal or create hazardous fumes when combined. Read product labels, ventilate the work area, and use protective equipment when directed. The storage goal is clean and dry, not chemically overtreated.
Step 7: Give Seasonal Equipment a Rotation
A small shed can function like a seasonal closet. In spring, bring seed-starting supplies, hand tools, and irrigation fittings forward. In fall, move winter lawn and leaf gear near the door while summer accessories go higher or farther back. The article on winterizing a lawn before frost gives a useful checklist for deciding which lawn tools need to remain accessible late in the season.
A Practical Small-Shed Layout
| Zone | Best use | Avoid |
|---|---|---|
| Door-side wall | Daily hand tools, gloves, hose fittings | Sharp items sticking into the entry path |
| Long wall | Rakes, shovels, hoes, brooms | Loose leaning stacks |
| Low shelves | Heavy soil bags, sturdy equipment, stable bins | Items that can leak onto chemicals or electrical gear |
| Mid shelves | Frequently used bins and small tools | Overfilled deep boxes |
| High shelves | Light seasonal items | Heavy tools or liquids |
| Locked cabinet | Pesticides and products requiring secure storage | Food, pet supplies, unlabeled containers |
Troubleshoot the Problems That Come Back
If tools keep landing on the floor, the wall rack is probably too crowded or too far from the door. If bins become junk drawers, the categories are too broad. If the shed smells musty, look for roof leaks, ground moisture, and ventilation problems instead of masking the odor. If mice or insects are active, remove nesting material and food-like products and seal entry points where appropriate. If shelving leans or the floor feels soft, stop loading it and investigate the structure.
Keep the System Easy Enough to Maintain
The best shed organization system has a clear return path for every commonly used item. Label broad categories, leave open space, and do a short reset at the end of each major season. Once the layout is working, you should be able to enter, remove a tool, and replace it without moving three other objects first.
This article is for general educational purposes and does not replace structural, electrical, fire-safety, pesticide, or hazardous-material advice. Follow product labels, building requirements, and local disposal rules, and consult qualified professionals when the shed has structural damage, electrical wiring concerns, fuel-storage issues, or significant chemical storage.
Next step: empty one wall first, assign it a single storage job, and test the layout with your five most-used tools before installing more organizers.