
Root Canal Treatment Explained Step by Step
Root canal treatment removes inflamed or infected pulp from inside a tooth, cleans and shapes the canal space, seals it, and then protects the tooth with a filling or crown when needed. It is usually recommended when the inside of the tooth is damaged by deep decay, cracks, trauma, or repeated dental work.
Root canal path at a glance
- Diagnosis comes first: symptoms, exam findings, and X-rays guide the decision.
- The tooth is numbed, isolated, opened, cleaned, shaped, disinfected, and sealed.
- A temporary or permanent restoration protects the opening after treatment.
- Many back teeth need a crown afterward to reduce fracture risk.
- Severe swelling, fever, spreading infection, or trouble swallowing needs urgent care.
Why a dentist may recommend endodontic treatment
Inside each tooth is pulp tissue containing nerves, blood vessels, and connective tissue. The American Association of Endodontists explains that endodontic treatment is needed when this pulp becomes inflamed or infected. Causes can include deep decay, repeated procedures on the same tooth, cracks, chips, faulty crowns, or injury.
Symptoms that may lead to evaluation include lingering hot or cold sensitivity, pain when biting, swelling, a pimple-like bump on the gum, darkening of the tooth, or tenderness. Some teeth with serious pulp damage are surprisingly quiet, which is why X-rays and testing matter. A root canal is not something to self-diagnose based on pain alone.
The purpose is to keep the natural tooth when possible. Extraction may still be discussed if the tooth is fractured, lacks enough structure, has severe periodontal support loss, or cannot be predictably restored.
Step by step: what happens during treatment
1. Exam and imaging. The dentist or endodontist reviews symptoms, tests the tooth, checks gums and bite, and takes X-rays. The goal is to confirm which tooth is involved and whether root canal treatment is appropriate.
2. Local anesthesia. The area is numbed. If you still feel sharp pain, tell the dental team. Numbing can often be adjusted.
3. Isolation. A rubber dam is commonly placed around the tooth to keep it dry and reduce contamination from saliva.
4. Access opening. The dentist makes a small opening through the tooth to reach the pulp chamber and canals.
5. Cleaning and shaping. Tiny instruments remove inflamed or infected tissue. The canals are shaped and disinfected so they can be sealed.
6. Filling the canals. The cleaned canal space is filled with a biocompatible material, commonly gutta-percha, and sealed.
7. Temporary or permanent closure. Depending on the case, the opening may be closed with a temporary filling or a permanent buildup.
8. Final restoration. Many root canal-treated molars and premolars need a crown. The comparison of same-day crowns and traditional crowns explains why the restoration workflow can vary.
What you may feel before and after
Root canal treatment is commonly performed to relieve pain from an inflamed or infected tooth, but the tooth and surrounding tissues can feel sore afterward. The AAE's post-treatment care guidance advises contacting the endodontist if severe pain or pressure lasts more than a few days, swelling appears, the bite feels uneven, the temporary filling or crown comes out, or earlier symptoms return.
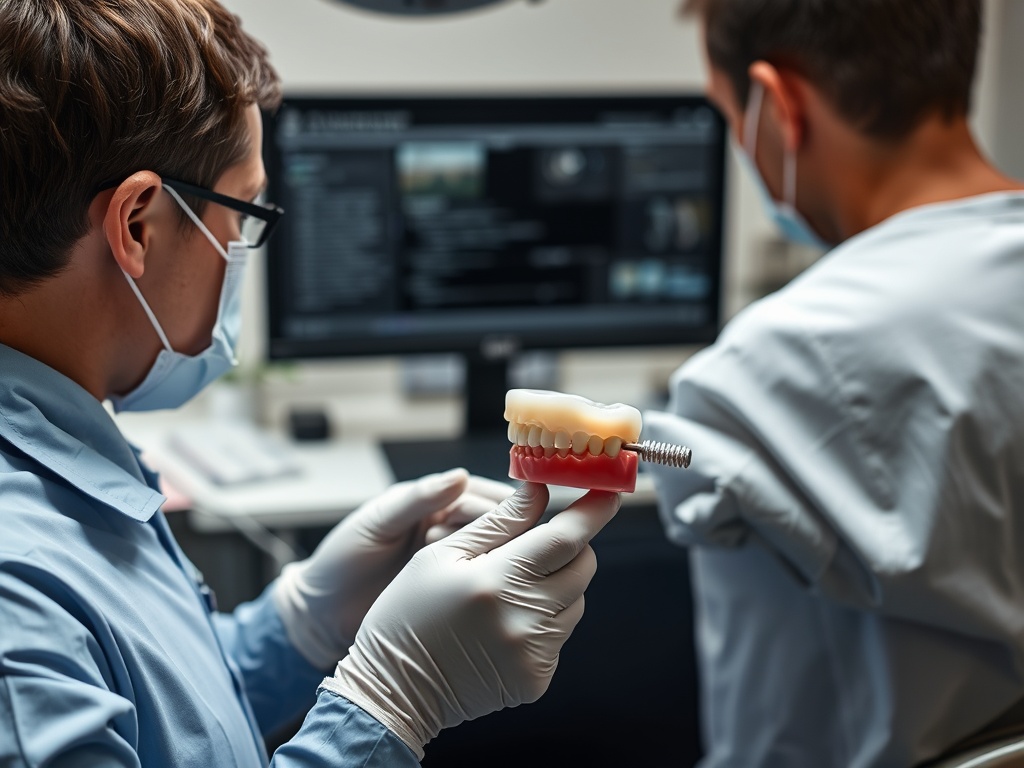
Until the tooth is fully restored, avoid chewing hard foods on it unless your dentist says otherwise. Brush and floss gently. If antibiotics or pain medicines are prescribed, follow the instructions. Do not use leftover antibiotics from another illness.
Myths that make root canal decisions harder
A common myth is that root canal treatment is only needed when pain is unbearable. In reality, a damaged pulp can sometimes be quiet, especially if the nerve has lost vitality. Another myth is that removing the tooth is always simpler. Extraction may be appropriate in some cases, but replacing a missing tooth can involve its own cost, timing, and maintenance decisions. The useful comparison is not root canal versus fear; it is saving a restorable tooth versus the realistic replacement plan.
A root canal appointment can also be diagnostic. If the dentist finds a vertical fracture, poor restorability, or periodontal support that is worse than expected, the plan may change. That is not a failed appointment; it is information that prevents starting treatment with a poor outlook.
Planning Notes for Root Canal Treatment Explained Step by Step
Book a routine evaluation if sensitivity lingers, a tooth hurts when biting, a deep cavity is suspected, or a crown feels loose. These issues should not be ignored, but they are not always same-day emergencies.
Seek urgent dental care if pain is severe, swelling is spreading, you have fever, you cannot sleep or function because of pain, pus appears, or you have trouble swallowing, breathing, or opening your mouth. If you need a same-day visit, the checklist on what to pack for an emergency dental visit can help you bring medications, records, and symptom notes.
What can change the treatment plan
Root canals can be more complex when canals are curved, calcified, hidden, previously treated, or connected to a cracked tooth. A dentist may refer you to an endodontist if the anatomy is difficult, symptoms are unclear, a retreatment is needed, or surgery might be considered.
Costs and insurance benefits vary. If your plan denies or limits payment, that does not automatically mean the treatment was unnecessary. The guide to dental insurance claim denials explains how to read the explanation of benefits and ask about appeals.
Before treatment starts, ask whether the tooth is expected to be restored with a filling, onlay, or crown, and who will place the final restoration. Ask whether a specialist referral would change the prognosis. A clear plan after the canals are sealed is part of the treatment, not an optional add-on.
Protect the saved tooth after the canals are sealed
Root canal treatment addresses the diseased pulp, but the tooth still needs a durable seal and a healthy bite. Ask when the final restoration should be placed, what foods to avoid before then, and what symptoms to report. The best next step is to keep the follow-up appointment that restores the tooth, not to treat the root canal as finished the moment the pain improves.
Questions About Root Canal Treatment Explained Step by Step
For Root Canal Treatment Explained Step by Step, this part of Questions About Root Canal Treatment Explained Step by Step focuses on the symptom history, previous treatment, current medicines, and the result the patient values most before the final recommendation is accepted, with the same details verified while the options are being narrowed. The clinician should also explain which examination finding supports each recommendation and what information could change it for Root Canal Treatment Explained Step by Step when home-care instructions are prepared, using the examination and health history rather than a general assumption. Recording that explanation gives the patient a clearer next step for Root Canal Treatment Explained Step by Step before the final recommendation is accepted, especially when follow-up duties are reviewed while the options are being narrowed.
Clinical Checks for Root Canal Treatment Explained Step by Step
When evaluating Root Canal Treatment Explained Step by Step, the dentist should explain how medical history, previous treatment, bite forces, and tissue health affect the recommendation. Before accepting a plan for Root Canal Treatment Explained Step by Step, request a plain-language explanation of what would make the diagnosis or treatment sequence change before consent is finalized. A sound decision about Root Canal Treatment Explained Step by Step begins with the findings that can be seen, measured, photographed, or confirmed on dental imaging.